Stroke Center
Home>Stroke Center>Content
Home>Stroke Center>Content
After a stroke, the hand is often the slowest part of the body to recover — and the part that matters most for daily independence: eating, dressing, writing, holding a phone. The good news is that structured, repeated movement is one of the most important things you can do to support hand recovery after stroke, and much of it can happen at home between therapy sessions. This guide collects 15 hand exercises for stroke patients, organized into three layers: six you can do with no equipment at all, five that use simple, inexpensive tools, and four that use robot-assisted rehabilitation devices.
Each exercise notes the recovery stage it usually suits, so you can pick the right movements for where the hand is now. We describe stages using the widely used Brunnstrom stages of stroke recovery (Stage 1 = flaccid/no movement → Stage 6 = near-normal control). If you want the reasoning behind an at-home program — how neuroplasticity works and how to structure a routine — read our companion guide, How to Recover Your Hand at Home After Stroke. That article is the method; this one is the exercise library.
Before you begin — read this. Every stroke and every hand is different. Start any new exercise only with the approval of your physician or therapist, work within a pain-free range, and stop immediately if a movement causes pain, sharp resistance, or increased spasticity. These exercises are educational and do not replace a personalized plan from your rehabilitation team.
These require nothing but a flat surface and, in the earliest stages, a helper. They are the foundation of hand recovery after stroke because they keep joints mobile and feed movement signals back to the brain.
Best for: Stages 1–2 (flaccid to early spasticity). With the affected hand resting palm-up, use your other hand (or ask a caregiver) to gently open the fingers and thumb, then slowly guide them into a soft fist. Support each finger; never force a tight joint. This passive range-of-motion keeps the hand from stiffening when it cannot yet move on its own. Move slowly, hold each open position a few seconds, and stop if the hand resists sharply or hurts.
Best for: Stages 2–3. Rest the forearm on a table with the palm down. Using the healthy hand, gently lift and lower the affected wrist, then softly press the palm flat to stretch the fingers open. Spasticity often pulls the hand into a fist, so this counter-stretch may help maintain length in the finger and wrist muscles. Keep it gentle and pain-free; if tightness is severe, ask your therapist about a stretching schedule before doing this alone.
Best for: Stages 2–3. Sit with the affected hand flat on a smooth tabletop. Slide the whole hand forward and back, letting the table support its weight so the arm does not have to lift. This gravity-eliminated movement lets an early, weak hand practice motion it could not do against gravity. If the hand cannot move yet, assist it with the other hand. Stop if the shoulder or wrist becomes painful.
Best for: Stages 3–4. With the forearm supported on a table and the hand hanging just past the edge, slowly raise the hand up (extension) and lower it down (flexion). Use the healthy hand to assist as much as needed, doing as much of the work as the affected hand can. Wrist control is a key building block for grasp. Keep repetitions slow and controlled; stop if you feel joint pain rather than muscle effort.
Best for: Stages 4–5. With the hand resting on a surface, touch the tip of the thumb to the tip of each finger in turn — index, middle, ring, little — then reverse. This trains the fine, isolated finger control needed for pinching and picking up small objects. Move at a pace that keeps each touch accurate rather than fast. If the fingers will not isolate yet, return to earlier exercises and try again later.
Best for: Stages 4–6. Rest the palm flat on a table. Spread the fingers apart as wide as comfortable, then bring them back together. Because opening the hand (extension and spreading) is usually harder than closing it after a stroke, this exercise targets a commonly weak pattern. Do it within a comfortable range and stop if it triggers cramping or pain.
Once the hand has some active grip and release, inexpensive tools add resistance and dexterity challenge. These are the kind of hand exercise tools for stroke patients a therapist may recommend for home practice. Introduce them only when you have enough active movement — starting resistance work too early can worsen spasticity, so confirm the timing with your therapist.
Best for: Stages 4–6. Tool: soft gel ball or foam ball. Hold a soft ball in the palm and gently squeeze, then fully release. The full release matters as much as the squeeze — many survivors can grip but struggle to open the hand. Choose a ball soft enough to squeeze without straining. Stop if squeezing increases stiffness or the hand stays clenched afterward.
Best for: Stages 5–6. Tool: therapy putty. Pinch small pieces of putty between the thumb and each fingertip, roll the putty into a snake, or press it flat. Putty comes in different resistances; begin with the softest. This builds pinch strength and finger dexterity for tasks like buttons and zippers. Work in short sessions and stop if the fingers ache or cramp.
Best for: Stages 4–6. Tool: a light loop band or hair-tie-style band. Loop a light band around the fingers and thumb, then open the hand against the band's gentle resistance and slowly return. Because it resists opening, this directly strengthens the finger-extension muscles that are usually the weak link after stroke. Use the lightest band first; stop if the wrist or fingers hurt rather than simply working.
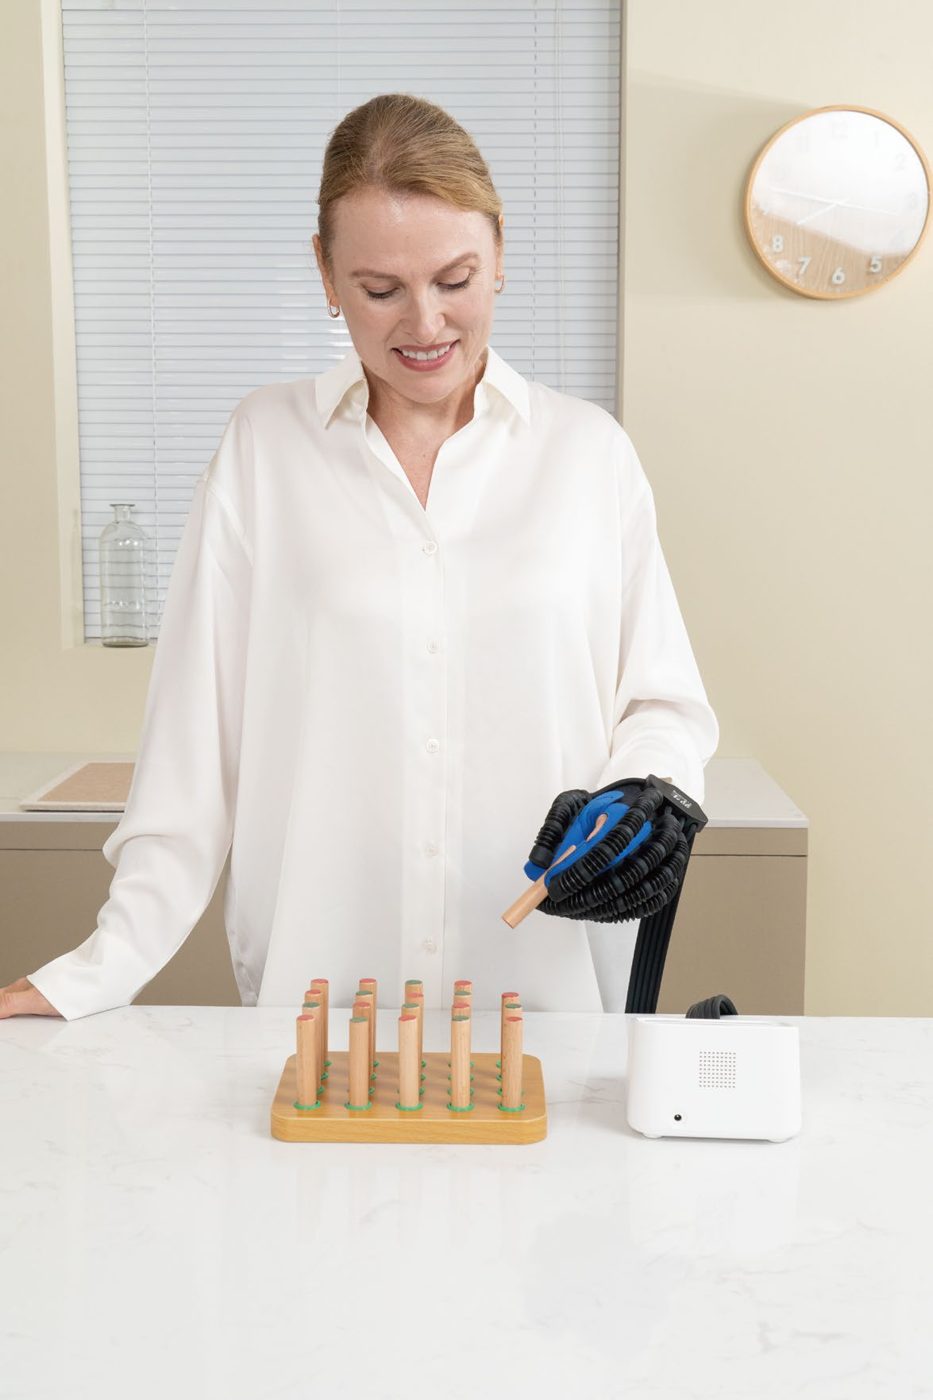
Best for: Stages 5–6. Tool: a pegboard, or clothes-pins and a container. Pick up pegs one at a time and place them in holes, or clip clothes-pins onto the edge of a cup. This combines grasp, controlled release, and eye-hand coordination — a bridge from isolated finger movement to real tasks. Take breaks; stop if fatigue causes the whole arm to tense up.
Best for: Stages 5–6. Tool: a jigsaw puzzle, coins, buttons, or beads. Sort coins by size, thread large beads, or assemble puzzle pieces. These enjoyable, task-like activities encourage many repetitions of pinch and place without feeling like “exercise,” which helps sustain practice volume. Keep sessions comfortable and stop before frustration or fatigue sets in.
When the hand has little or no active movement — or when you simply need far more repetitions than a caregiver can provide — robot-assisted rehabilitation gloves can deliver consistent, guided movement at home. They are used across several recovery stages and are a natural extension of the exercises above. As with any device, use it under the guidance of your therapist and follow the manufacturer's instructions; stop if any mode causes pain or a marked increase in spasticity.
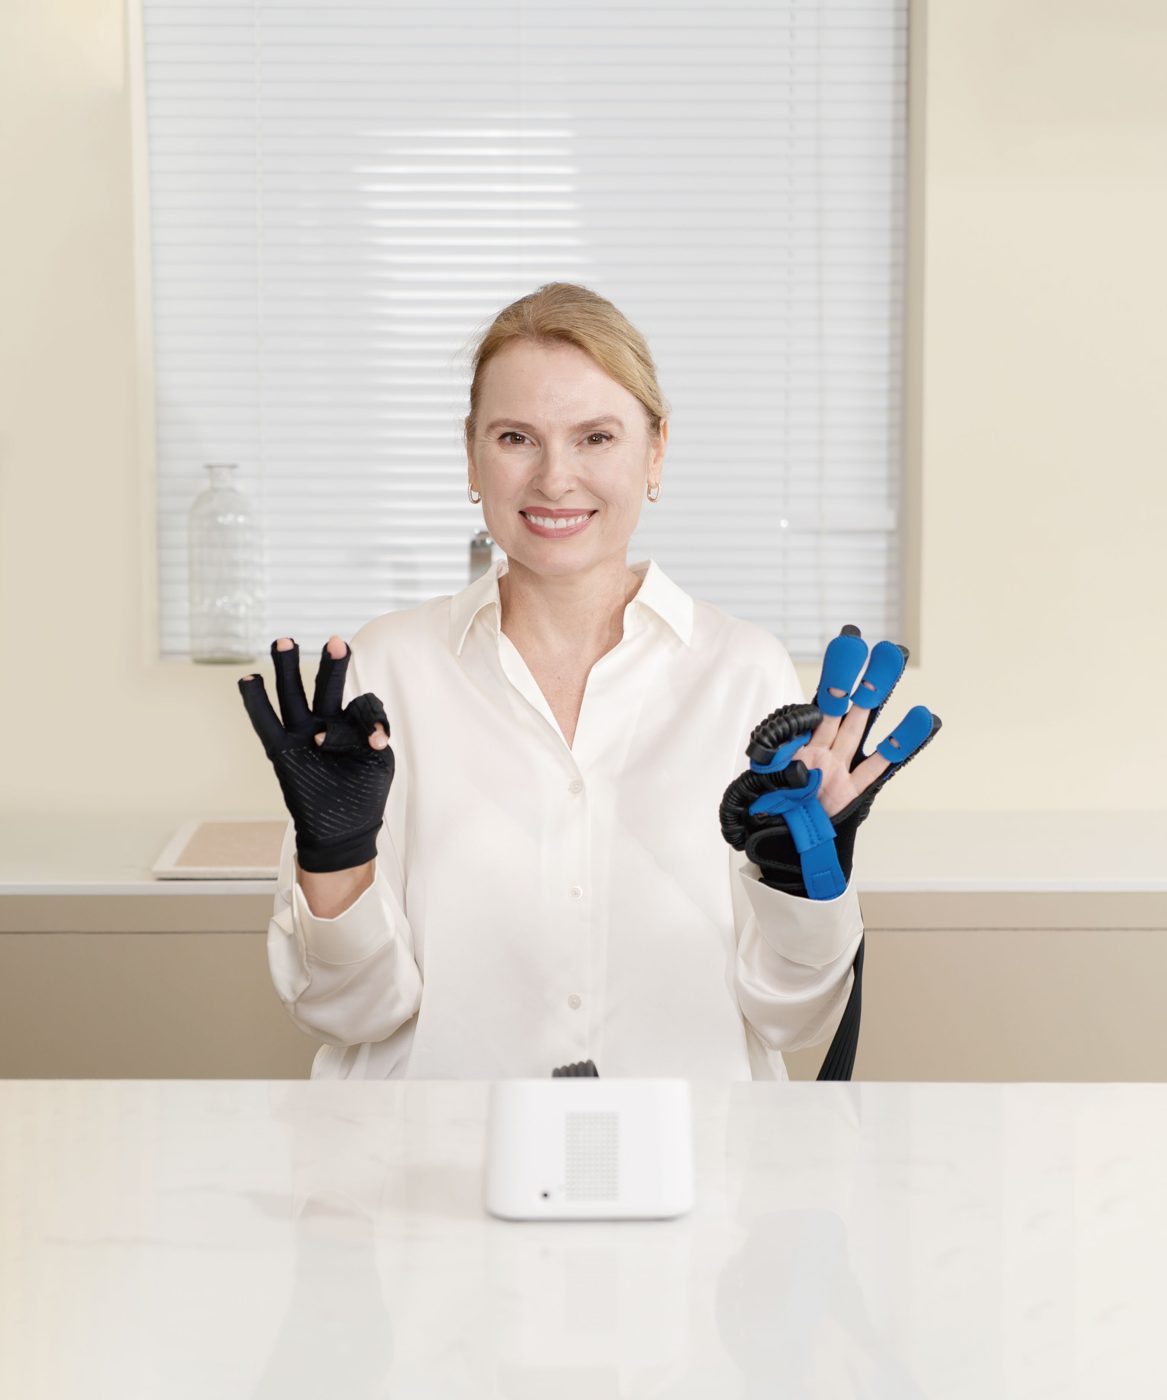
Best for: Stages 1–3. A soft robotic glove in passive mode gently flexes and extends the fingers for you, delivering the many daily repetitions a flaccid or weak hand needs when it cannot yet move on its own. This is where powered gloves differ from spring-loaded gloves, which need the hand to supply some force. Devices such as the Syrebo hand rehabilitation glove are designed for this earliest, hardest stage and pair naturally with clinic-based electrical stimulation (TENS) devices. Set the range and speed as advised by your therapist and stop if you feel resistance or discomfort.
Best for: Stages 3–4. In mirror mode, the healthy hand leads and the affected hand follows the same movement through the glove — combining the brain-engaging idea behind mirror therapy with real, guided motion. A lighter soft robotic glove lets you deliver many guided grasp-and-release repetitions per day at home. Begin with short sessions and stop if the affected hand tightens or hurts.
Best for: Stages 4–5. As active movement returns, use the glove's assistance to practice grasping and releasing real objects — a cup, a bottle, a block — so raw movement turns into everyday function. The glove completes the motion your hand can almost, but not quite, do alone, which is exactly the “just-hard-enough” practice that may support recovery. Keep objects light and stop if grasping becomes painful.
Best for: Stages 5–6. The hardest part of late-stage recovery is not ability but keeping up the volume of practice month after month. Interactive, game-based hand training — for example the Syrebo E12E hand rehabilitation robot, which combines guided hand training with game tasks — makes high-repetition practice engaging so it actually gets done. Children have their own options, such as rehabilitation gloves sized for children. Rest when tired and stop if a session causes strain.
The single most consistent theme in stroke rehabilitation research is that high repetition matters: the brain rewires through many correct movements, practiced often. That is why the layered approach above exists — it gives you enough different exercises to accumulate volume without doing the same thing until you are bored or sore.
Rather than chasing a specific number of minutes (which varies enormously by person and stage), a practical, general approach is:
Your therapist can turn these principles into a specific dose for your situation. The amount of practice that is safe and useful depends on your stage, spasticity, fatigue, and overall health, and it changes as you recover — which is why an individualized plan beats any one-size-fits-all schedule.
Home exercise is powerful, but it has limits. Keep these red-lines in mind:
See a therapist if you are unsure which stage the hand is in, if pain or swelling appears, if spasticity is increasing, if you plateau and are not sure how to progress, or before adding any new tool or device. An occupational or physical therapist can assess the hand, correct technique, and prescribe the right dose — and can tell you when to step up from no-equipment work to tools or robot-assisted training. Nothing here is a substitute for that professional guidance. For the underlying method and how to build a weekly routine, see How to Recover Your Hand at Home After Stroke.
The best exercises depend on the recovery stage. Early on, when the hand is weak or flaccid, gentle passive stretches and assisted, gravity-supported movements (like a tabletop hand slide) keep joints mobile. As active movement returns, finger-to-thumb opposition, finger spreads, and small-tool drills with a soft ball, therapy putty, or a light resistance band build strength and dexterity. In later stages, task-oriented practice with everyday objects converts movement into function. A therapist can match specific exercises to your hand and progress them safely.
Research consistently points to high repetition — many correct movements, practiced often — as important for recovery. In practice, several short sessions spread through the day are usually easier to sustain than one long session, and consistency most days tends to matter more than occasional intense efforts. The exact amount that is safe and useful varies by person, stage, spasticity, and fatigue, so ask your therapist to set a specific dose for you.
Yes, they still have a role. When a hand has no active movement (a flaccid stage), passive range-of-motion — moving the fingers and wrist for the person — helps keep joints mobile, reduces stiffness and swelling, and feeds movement signals to the brain. Because these repetitions need to happen many times a day, some rehabilitation programs also use soft robotic gloves in passive mode to deliver consistent flexion and extension. Recovery varies by individual, so a therapist should guide what is appropriate.
Common, inexpensive tools include a soft gel or foam ball for squeezing, therapy putty for pinching and rolling, a light resistance band for finger extension, and a pegboard, clothes-pins, coins, or puzzles for dexterity and coordination. For hands with little active movement or for very high repetition, robot-assisted rehabilitation gloves add passive, mirror-assisted, and task-oriented modes. Introduce any tool under a therapist's guidance and start with the lightest resistance.
They are not a replacement — they are a complement. Manual and no-equipment exercises are the foundation and cost nothing. Robot-assisted gloves add value where volume is hard to achieve manually: they can move a hand that cannot yet move on its own (passive mode), let the healthy hand guide the affected one (mirror mode), and deliver many guided grasp-and-release repetitions at home between therapy sessions. The right mix depends on the individual and should be decided with a therapist.
Need more repetitions than you can do by hand? Tell us about the hand and its current stage, and our team will recommend a home rehabilitation approach — from simple tools to robot-assisted gloves. No obligation. Get expert advice.
This article is for educational purposes only and is not a substitute for professional medical advice, diagnosis, or treatment. Every stroke and every recovery is different — always follow the guidance of your physician and rehabilitation team, and stop any exercise that causes pain.